The invisible bits take so long
Hours of thinking and working but so little to see

Tuesday, was planned to be triumphant progress on our solar installation. Yet by the end of the day there wasn't much to see.
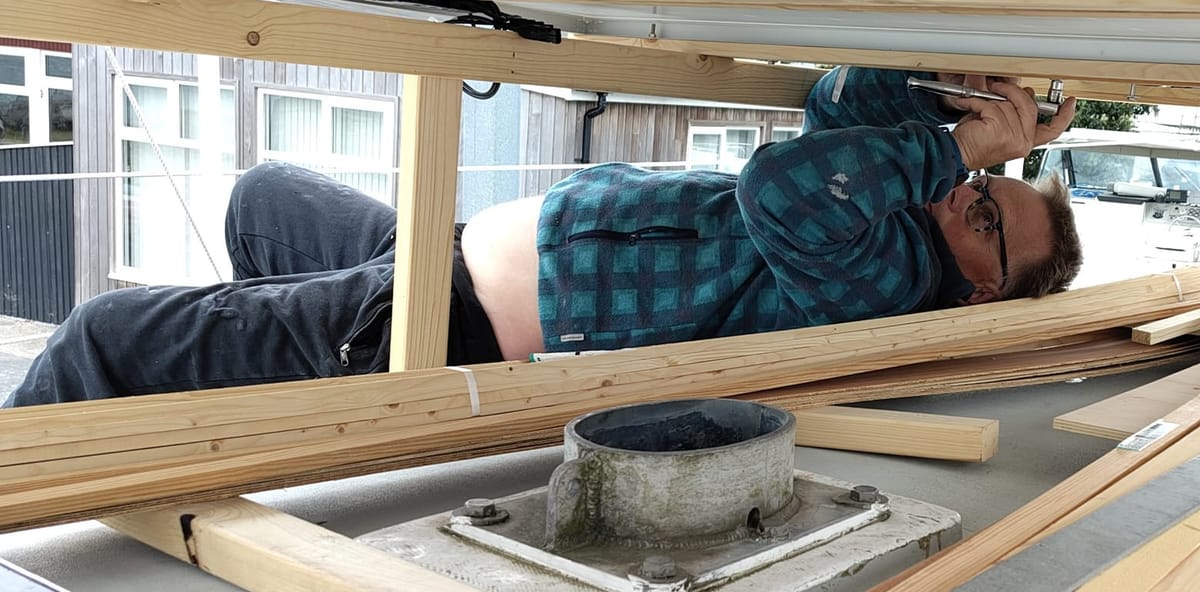
Dave started with some boat yoga giving a tiring core workout.
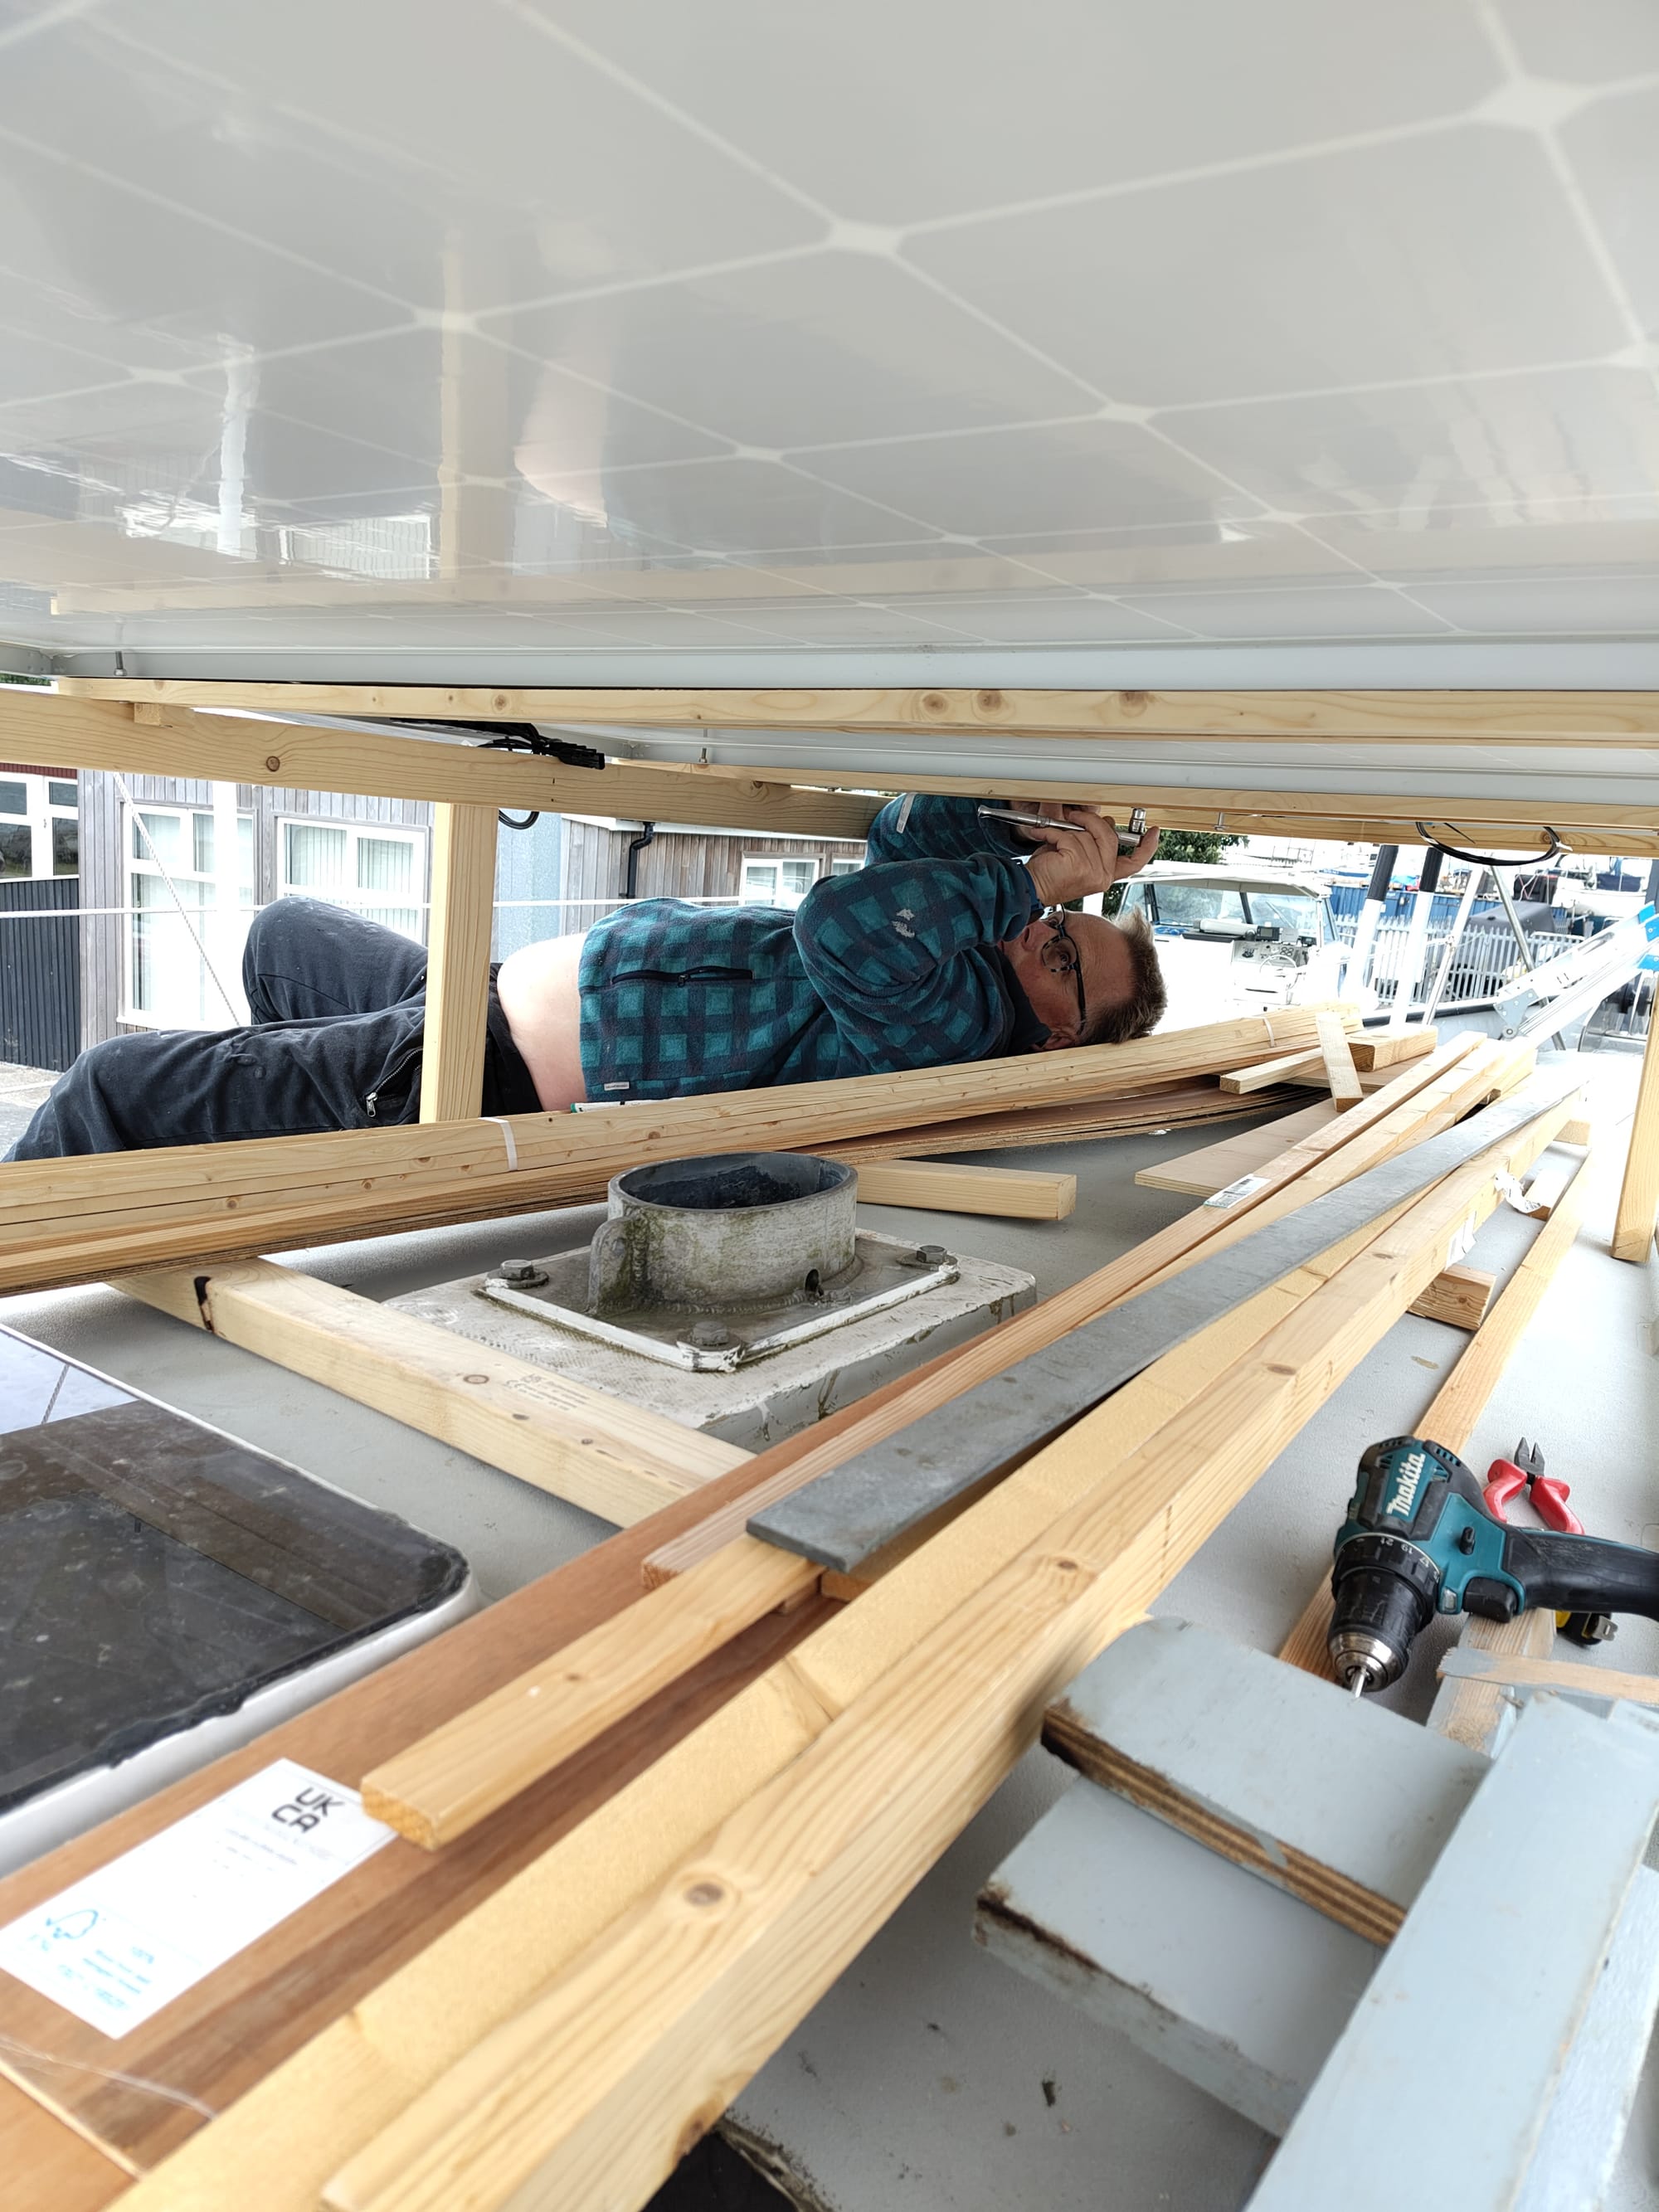
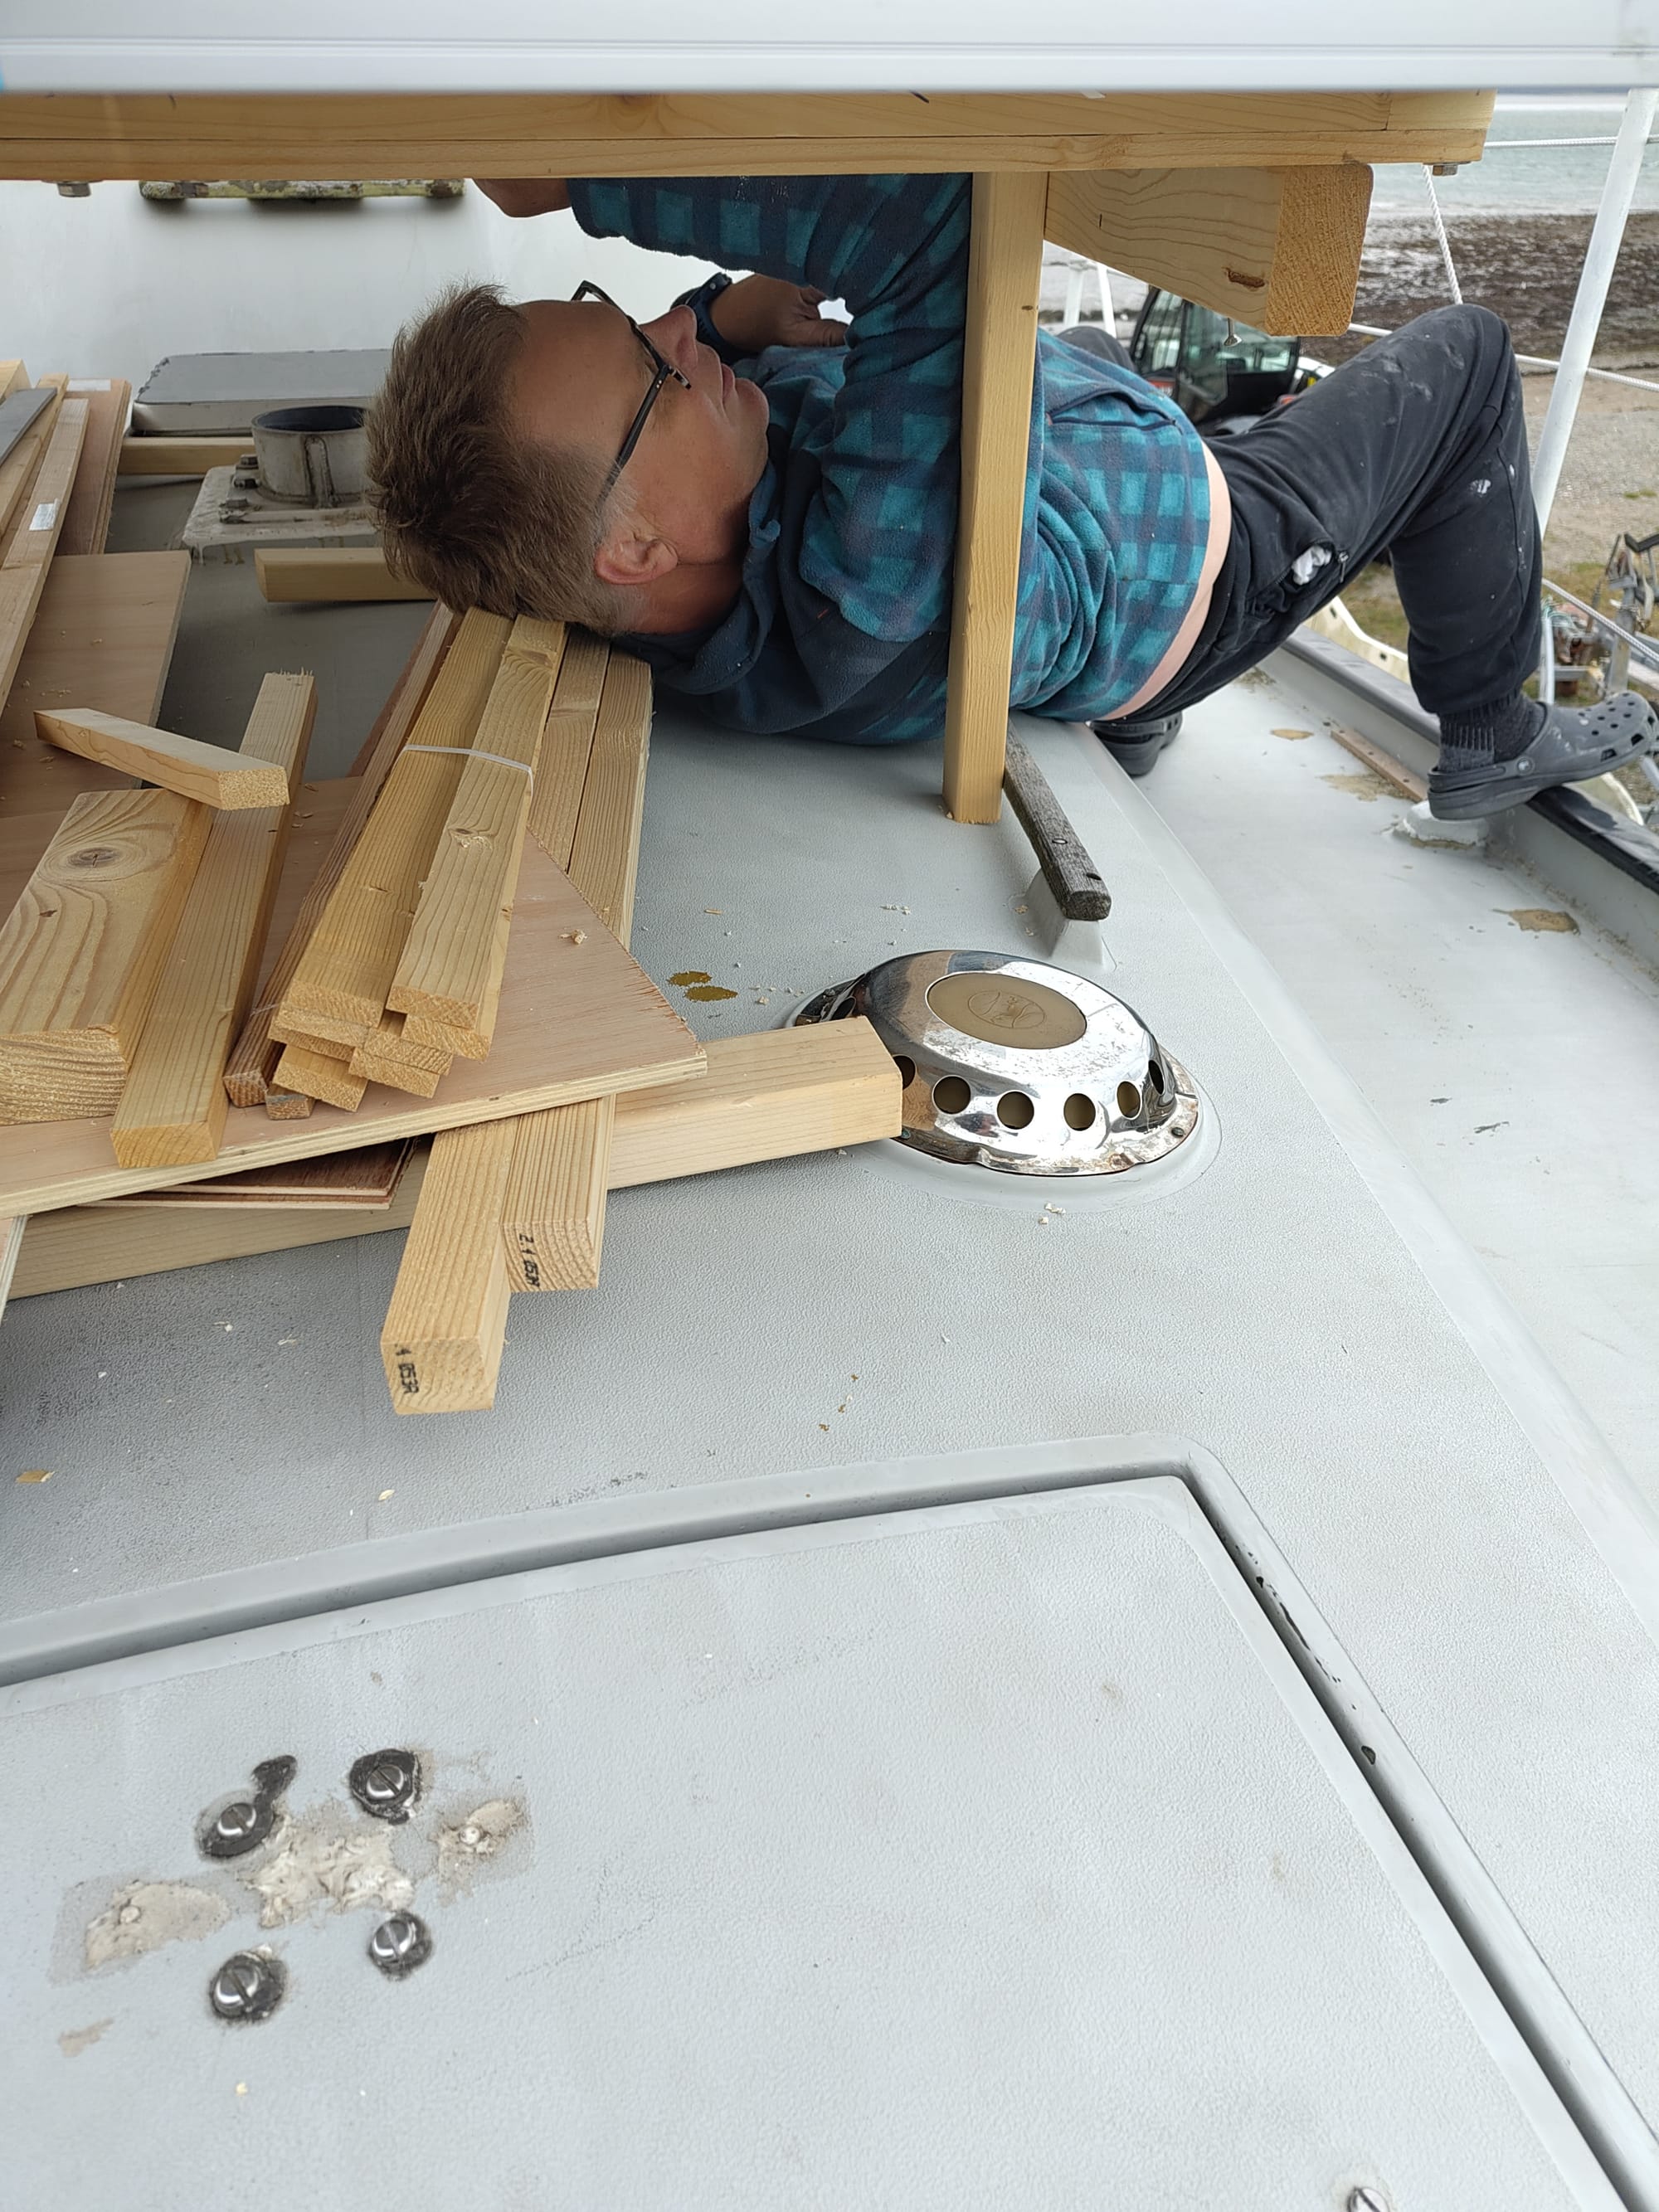
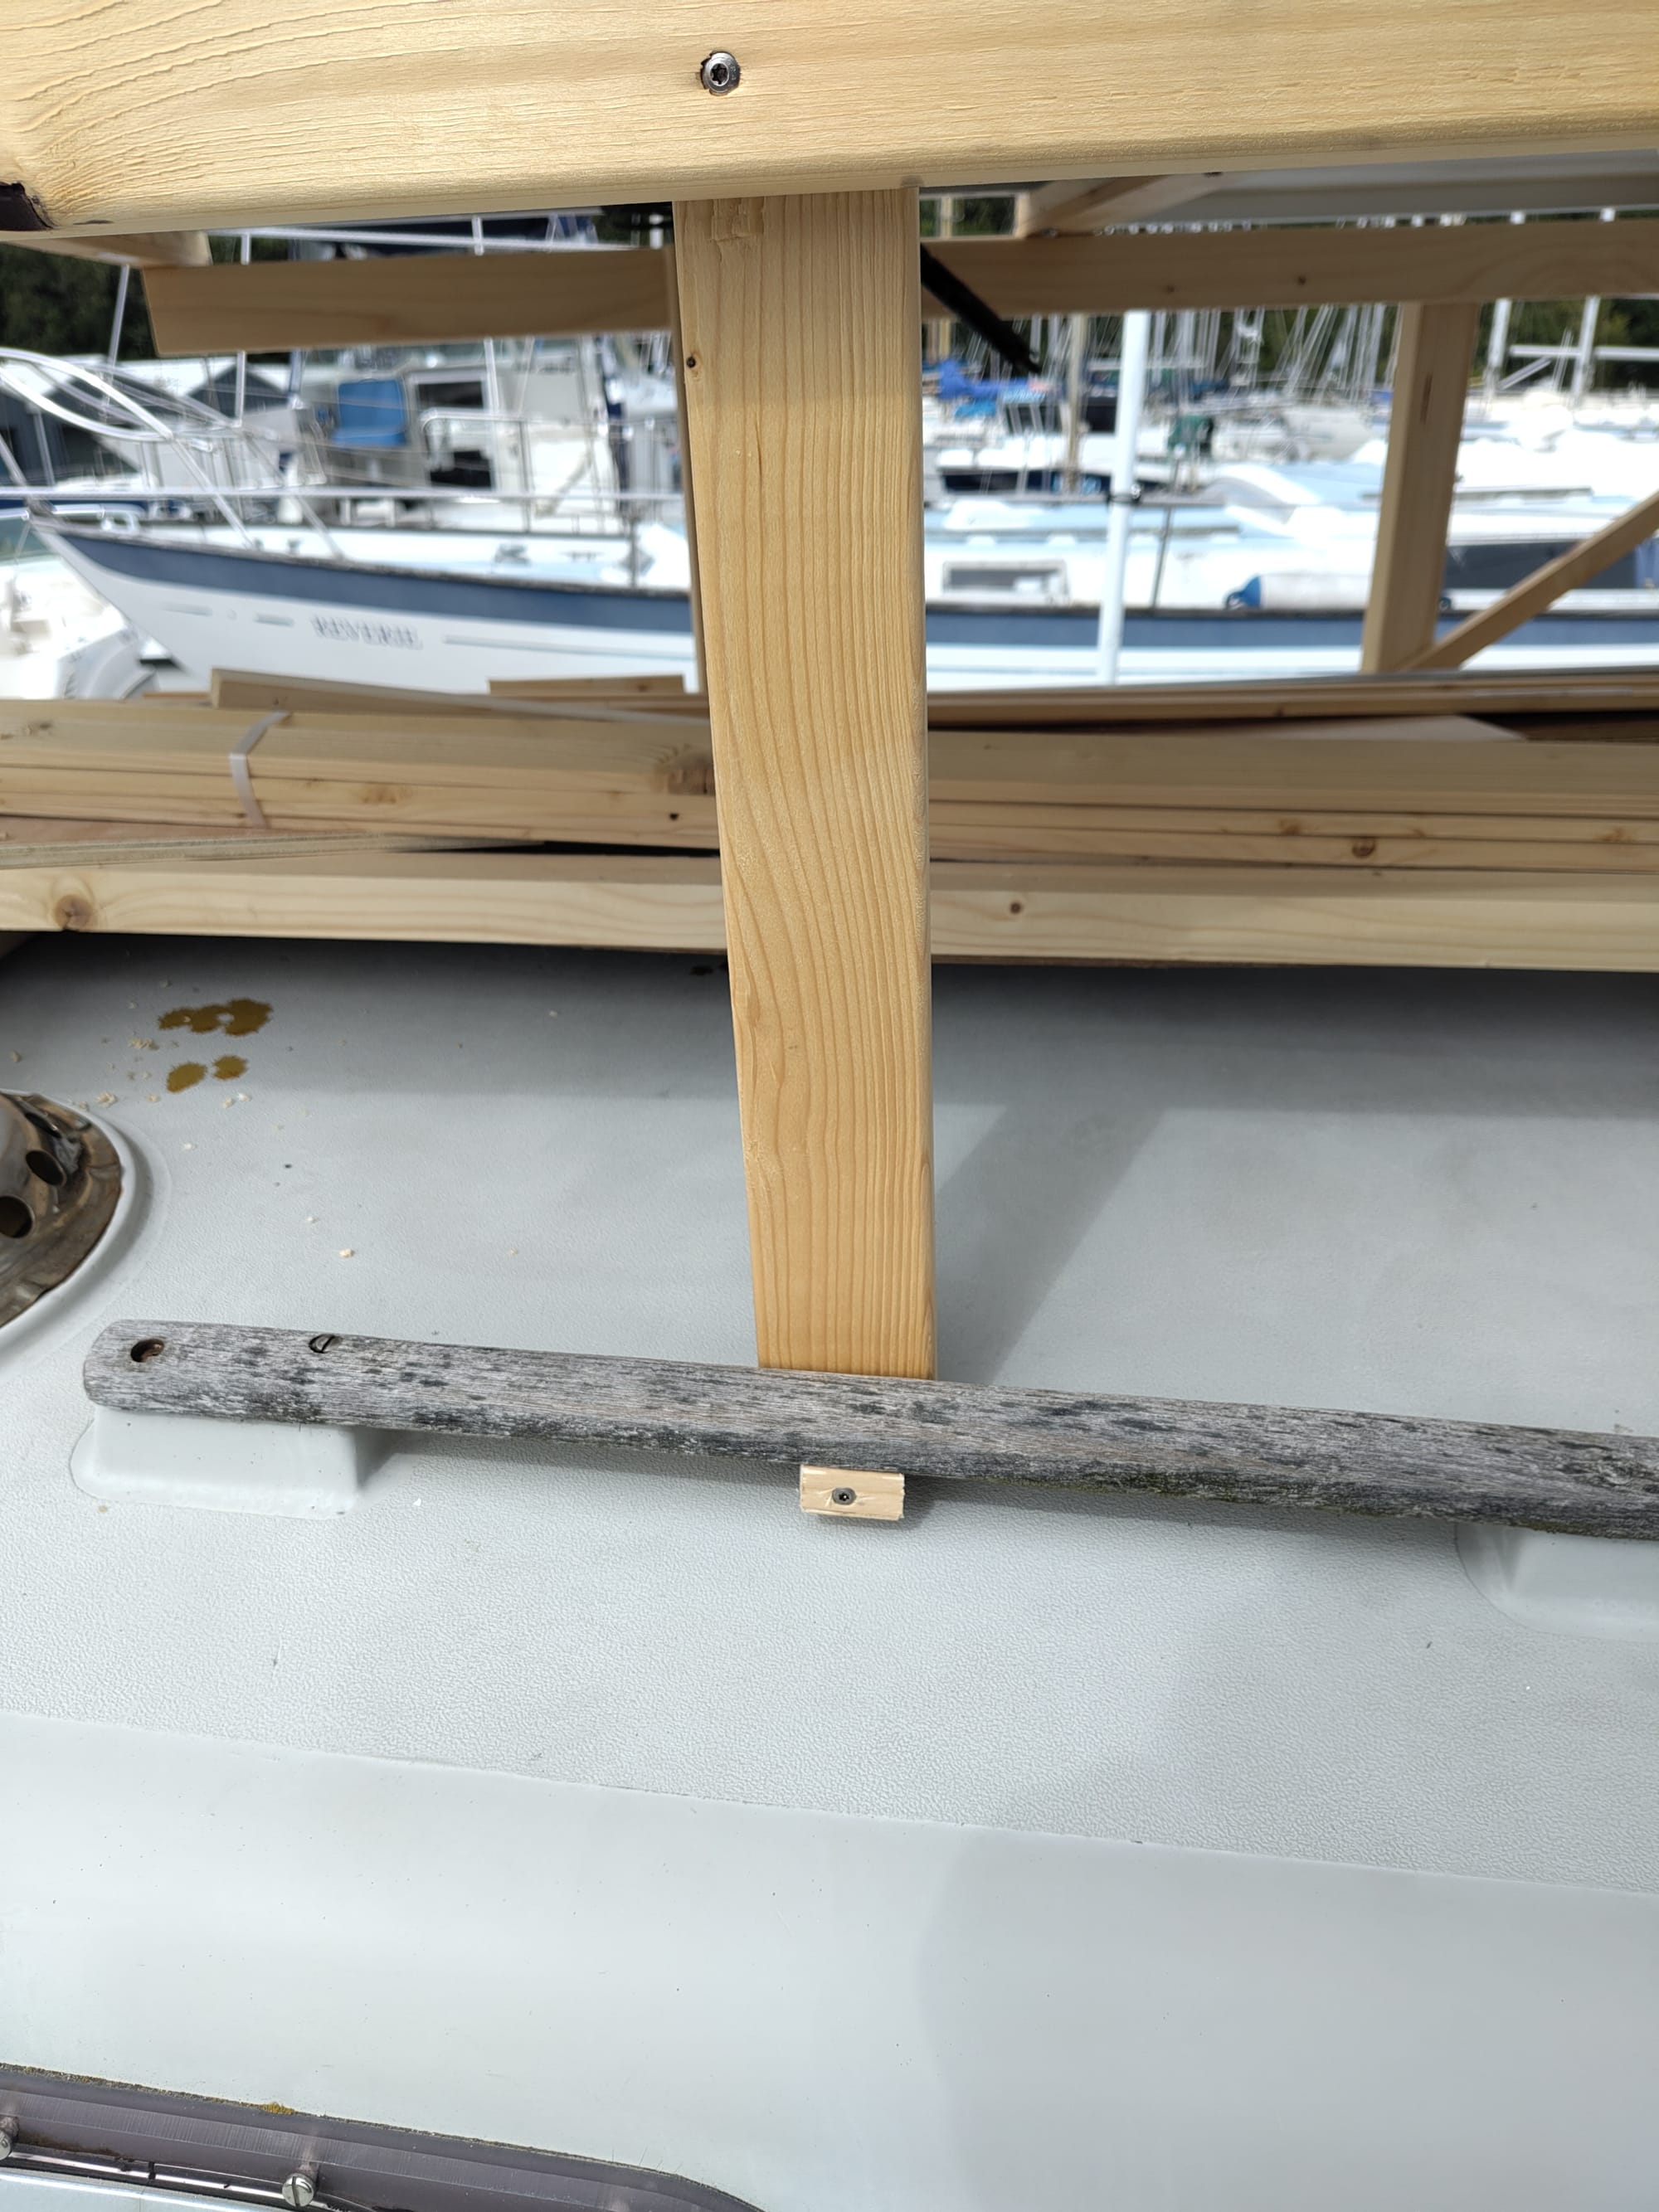
It doesn't look any different, but all the solar panels in the solar farm are now bolted down, and the whole solar farm is locked down to the deck handrails so that it doesn't take off in the southerly wind.
We then spent ages trying to work out how to take apart and wire up the 4-pole isolation switches. We will have 5 of these, one for each "collection" of solar panels. They are an important safety measure, they mean that electrically we can fully disconnect a set of solar panels from the rest of the electrical system. Too often we see people just covering the panels with a rug when they want to work on the electrics. With 14 panels that just isn't practical (and it would not meet the required standards for insurance).
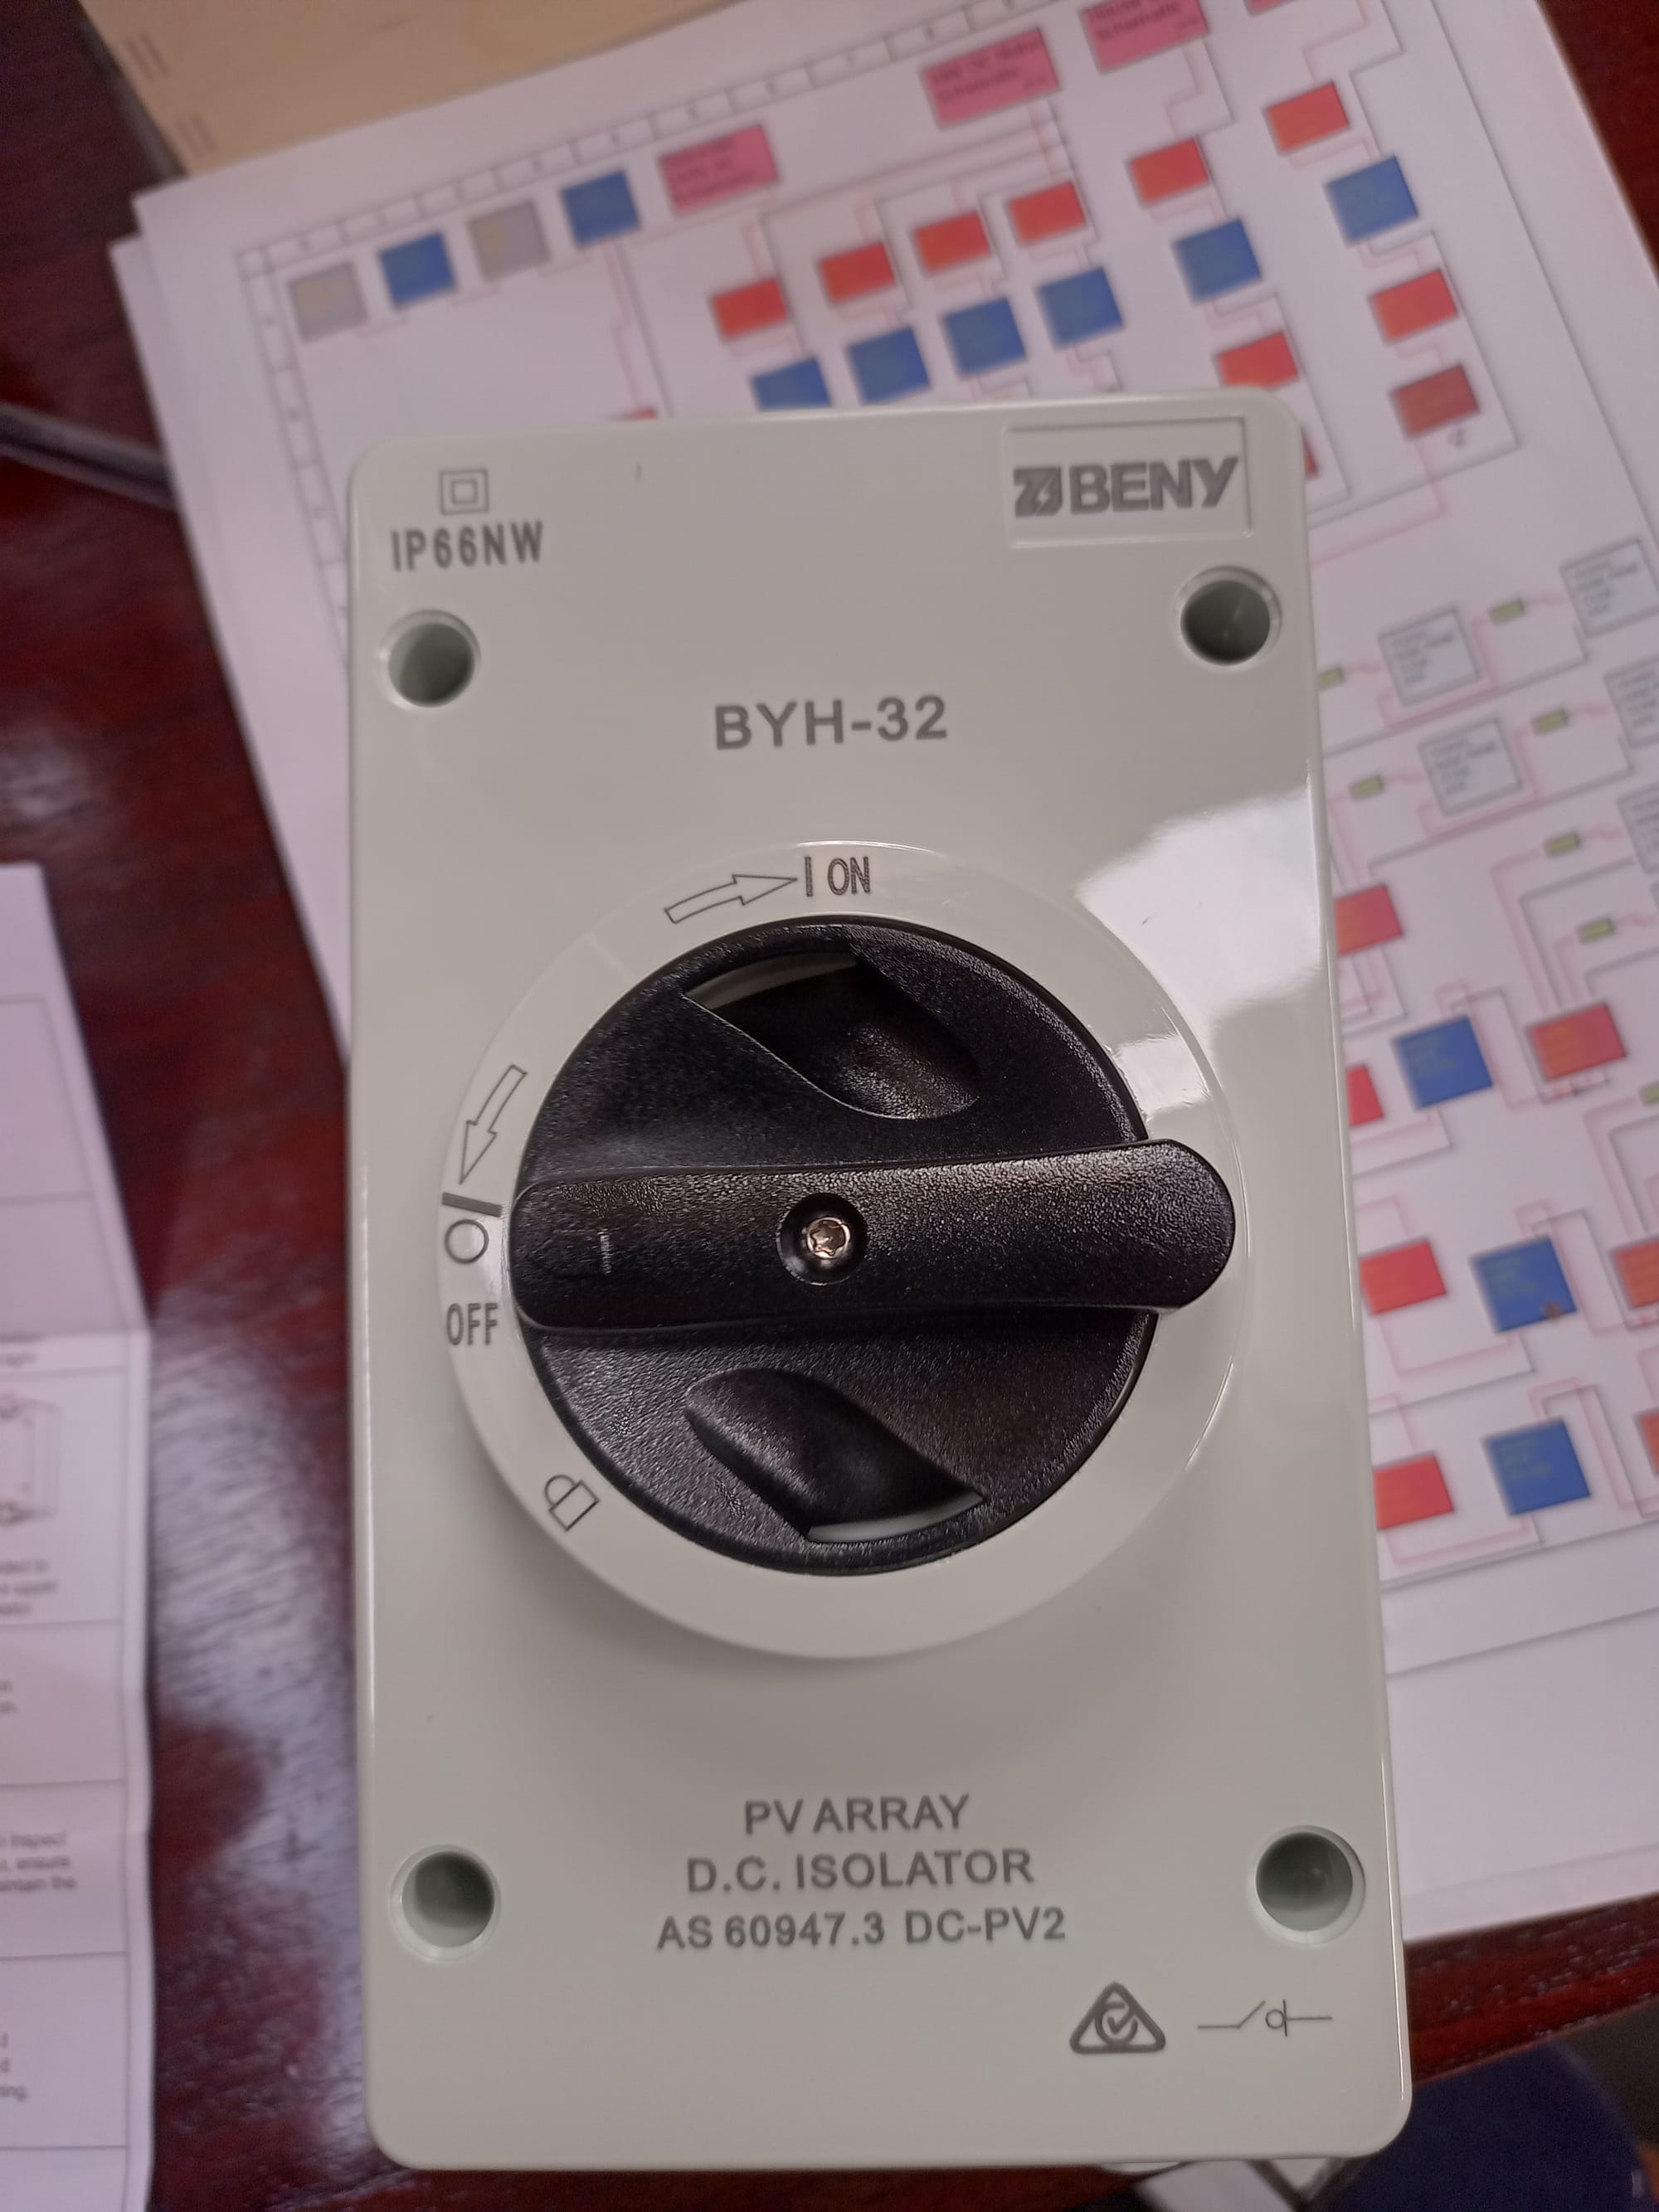
The reason for grouping our panels into 5 collections is due to the impacts of varying sizes, voltage requirements and dealing with shade.
Our biggest four panels are 215watts and 24V, they are the only 24v panels and so need to be kept separate from all the others. They are going to be connected in 2 series of 2 panels. That gives us two 2 feeds of 48volts into one 4-pole isolator (2 +ve and 2-ve). That goes into an MPPT controller which feeds the power into our main 48V battery bank. Eventually the panels will be on a structure sticking out behind the boat, currently 2 of them are in the on deck solar farm.
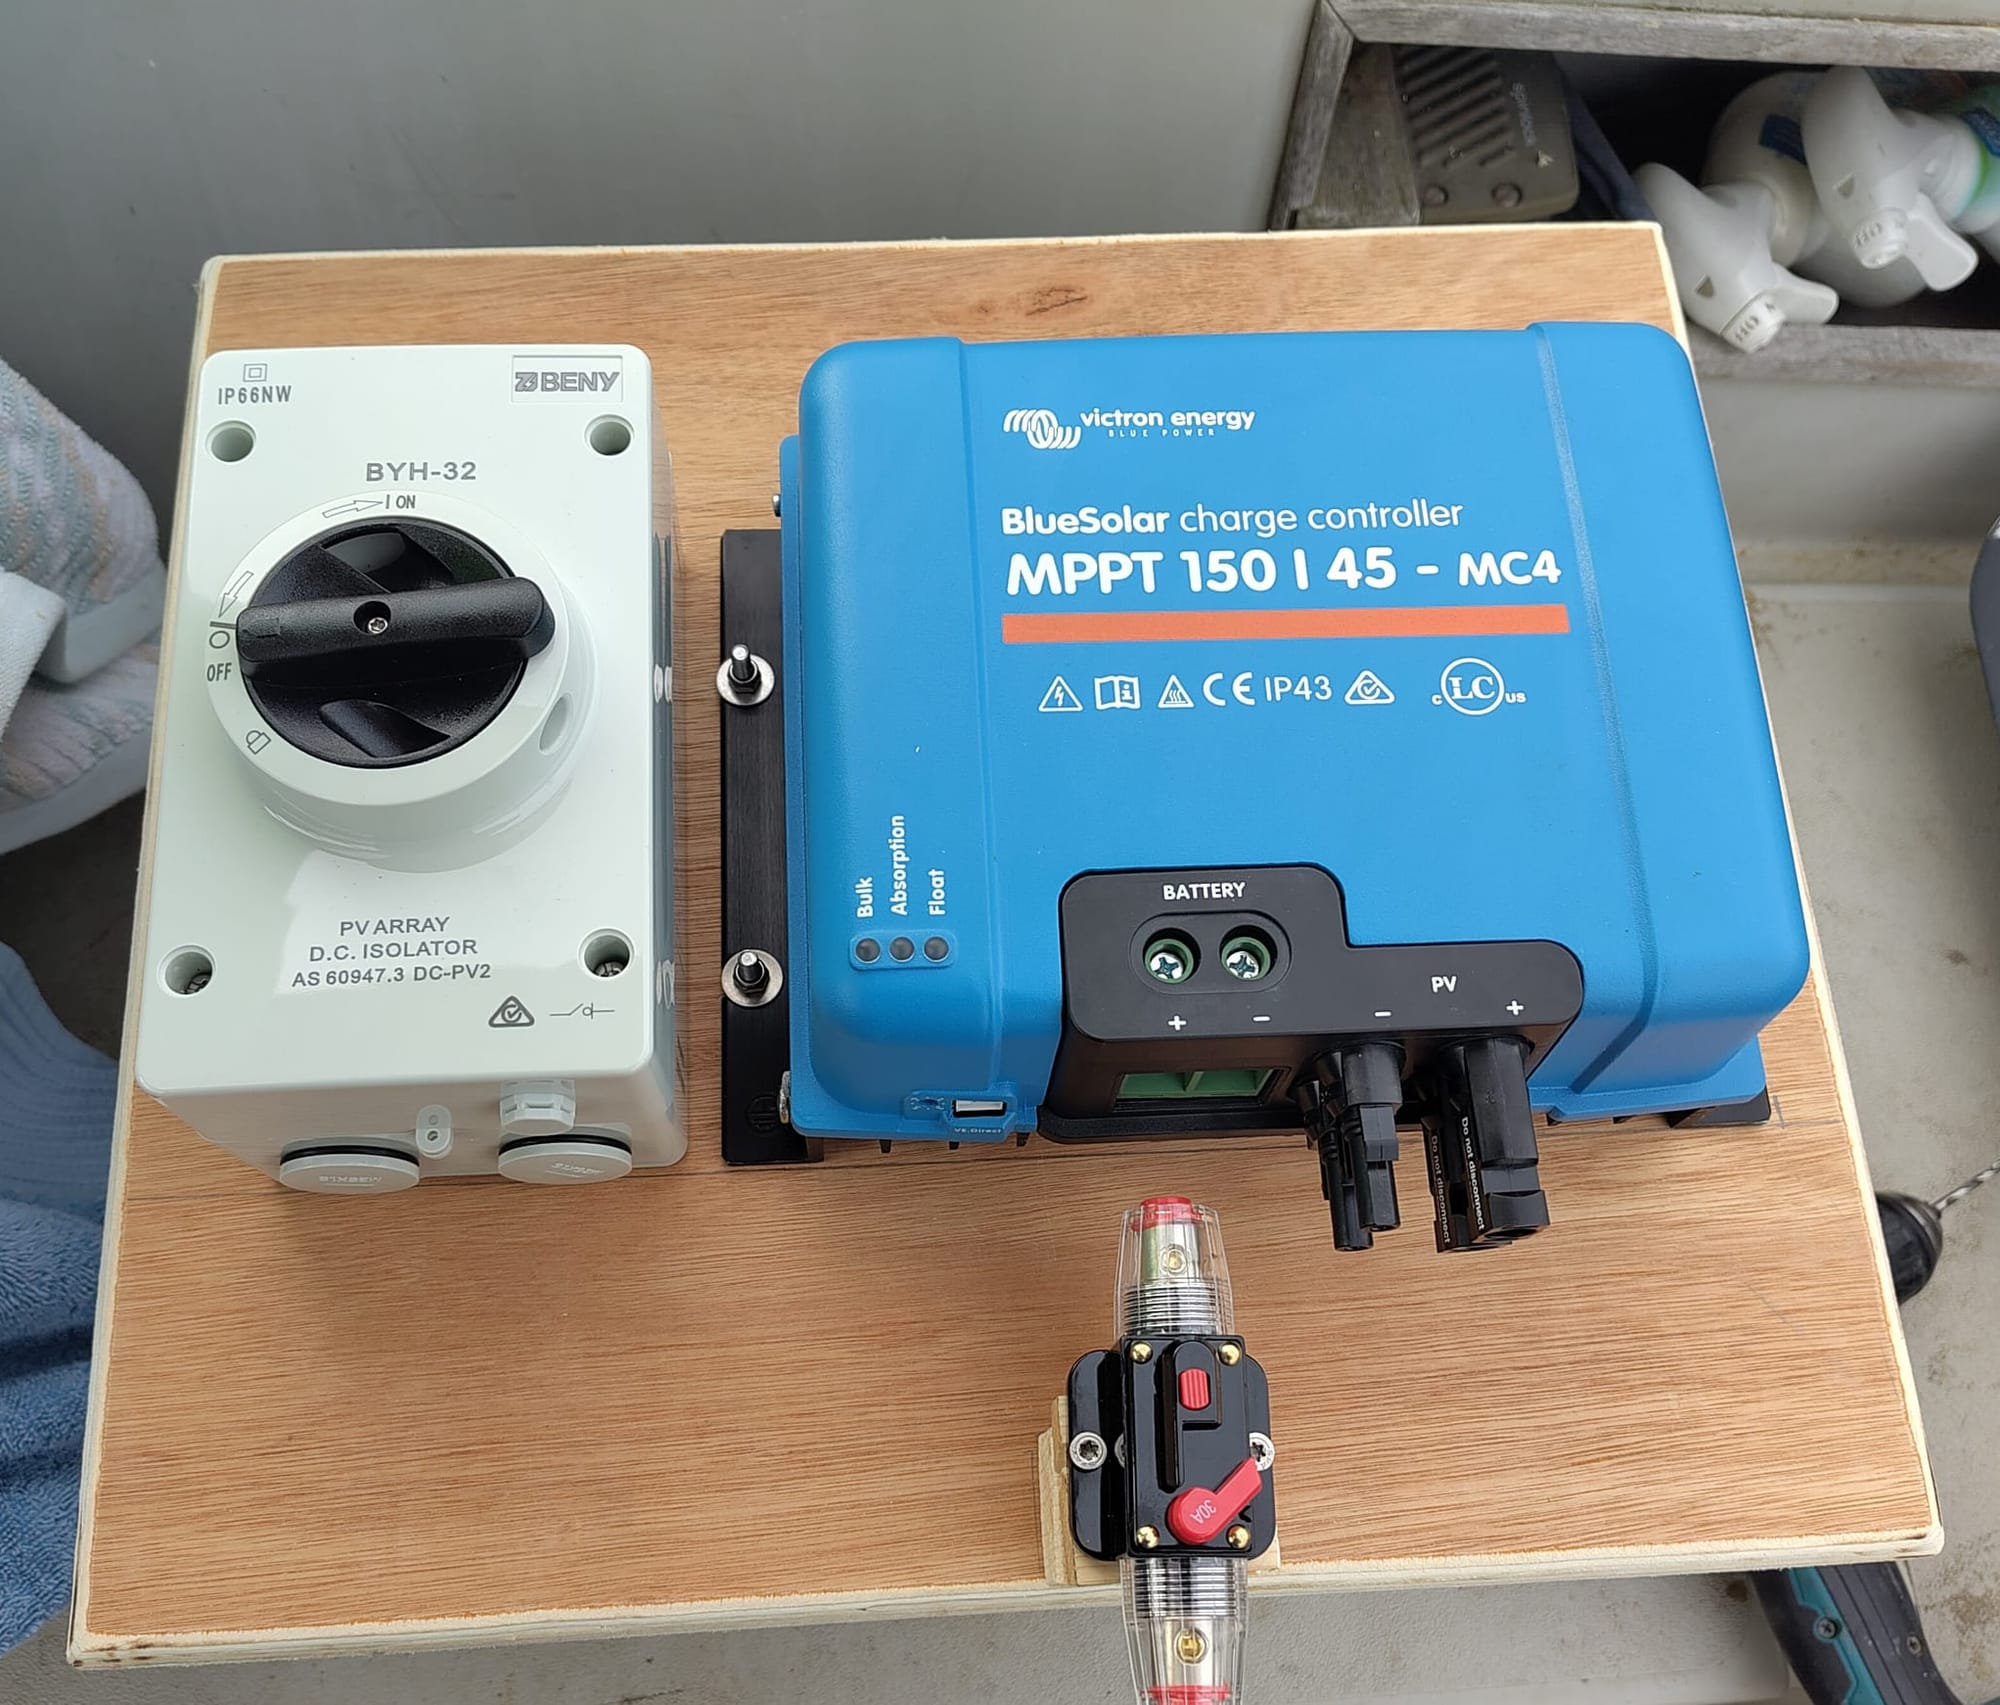
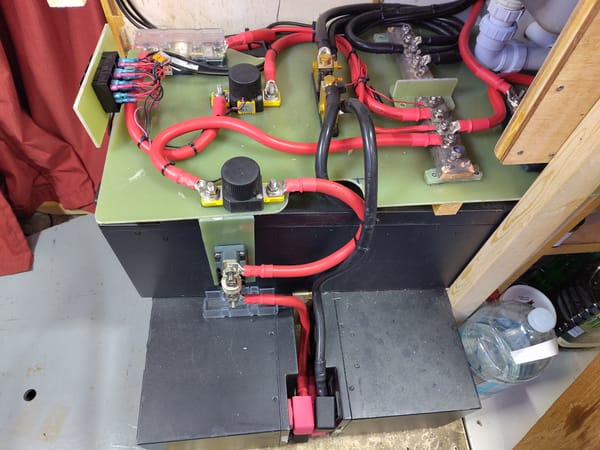
So I have built this panel for the parts and it's now ready for wiring. It will go near my feet at the side of our bed in the aft cabin. 4 wires come through watertight glands in the deck to the top of the isolator on the left. Then from there into the bottom right of the blue MPPT, from there to the battery bank via a 50A circuit breaker (temporarily a 30A as we are only connecting 2 panels at the moment).
We have started the panels for the next two collections of solar panels.
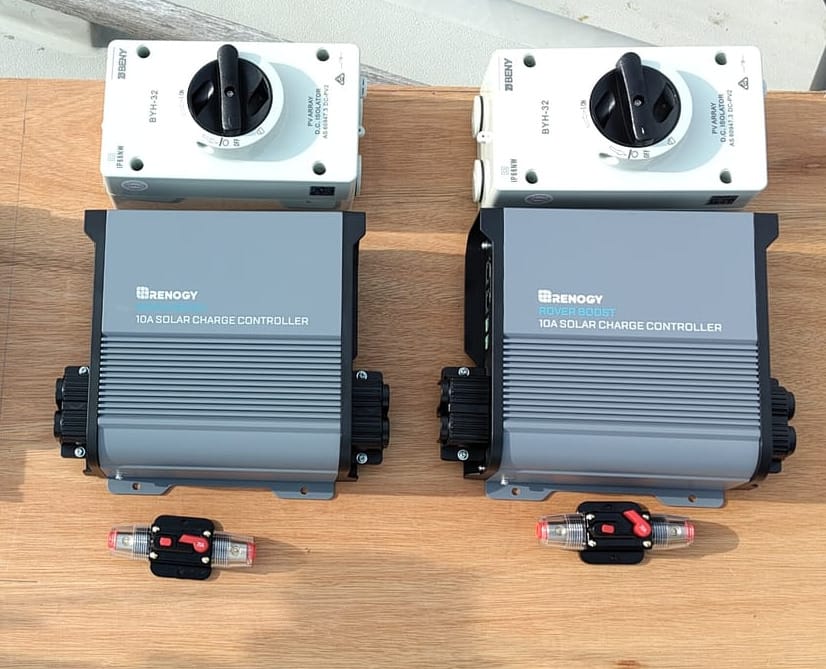
One goes on the starboard side (next to where we climb into bed) for the 2 side solar panels (both 175w, 12v) connected in parallel (so if one is a bit shaded by the mizzen mast or rigging the other can still deliver power).
The second goes in our en-suite heads (toilet) on the port side for the identical panels on that side.
The wiring goes in an S shape from the top right. These Renogy controllers should be a game changes for us (and if so, we will have 4 of them). They take in a 12V supply and convert it into a 48v supply to charge our battery banks. These only need 20Amp circuit breakers (could be less, but we are using over specced wiring to reduce electrical losses, and they are there principally to protect the wiring).
For these panels will need to bring 12 wires through the deck so we have also sorted out where these will go and found the right crimping tool for the MC4 connectors that we have to build. Initially we have about 12 MC4 connectors to crimp, lots of ring crimps (the sort that you bolt onto a terminal), a few more where we will crimp ferrules on (see this video for why).
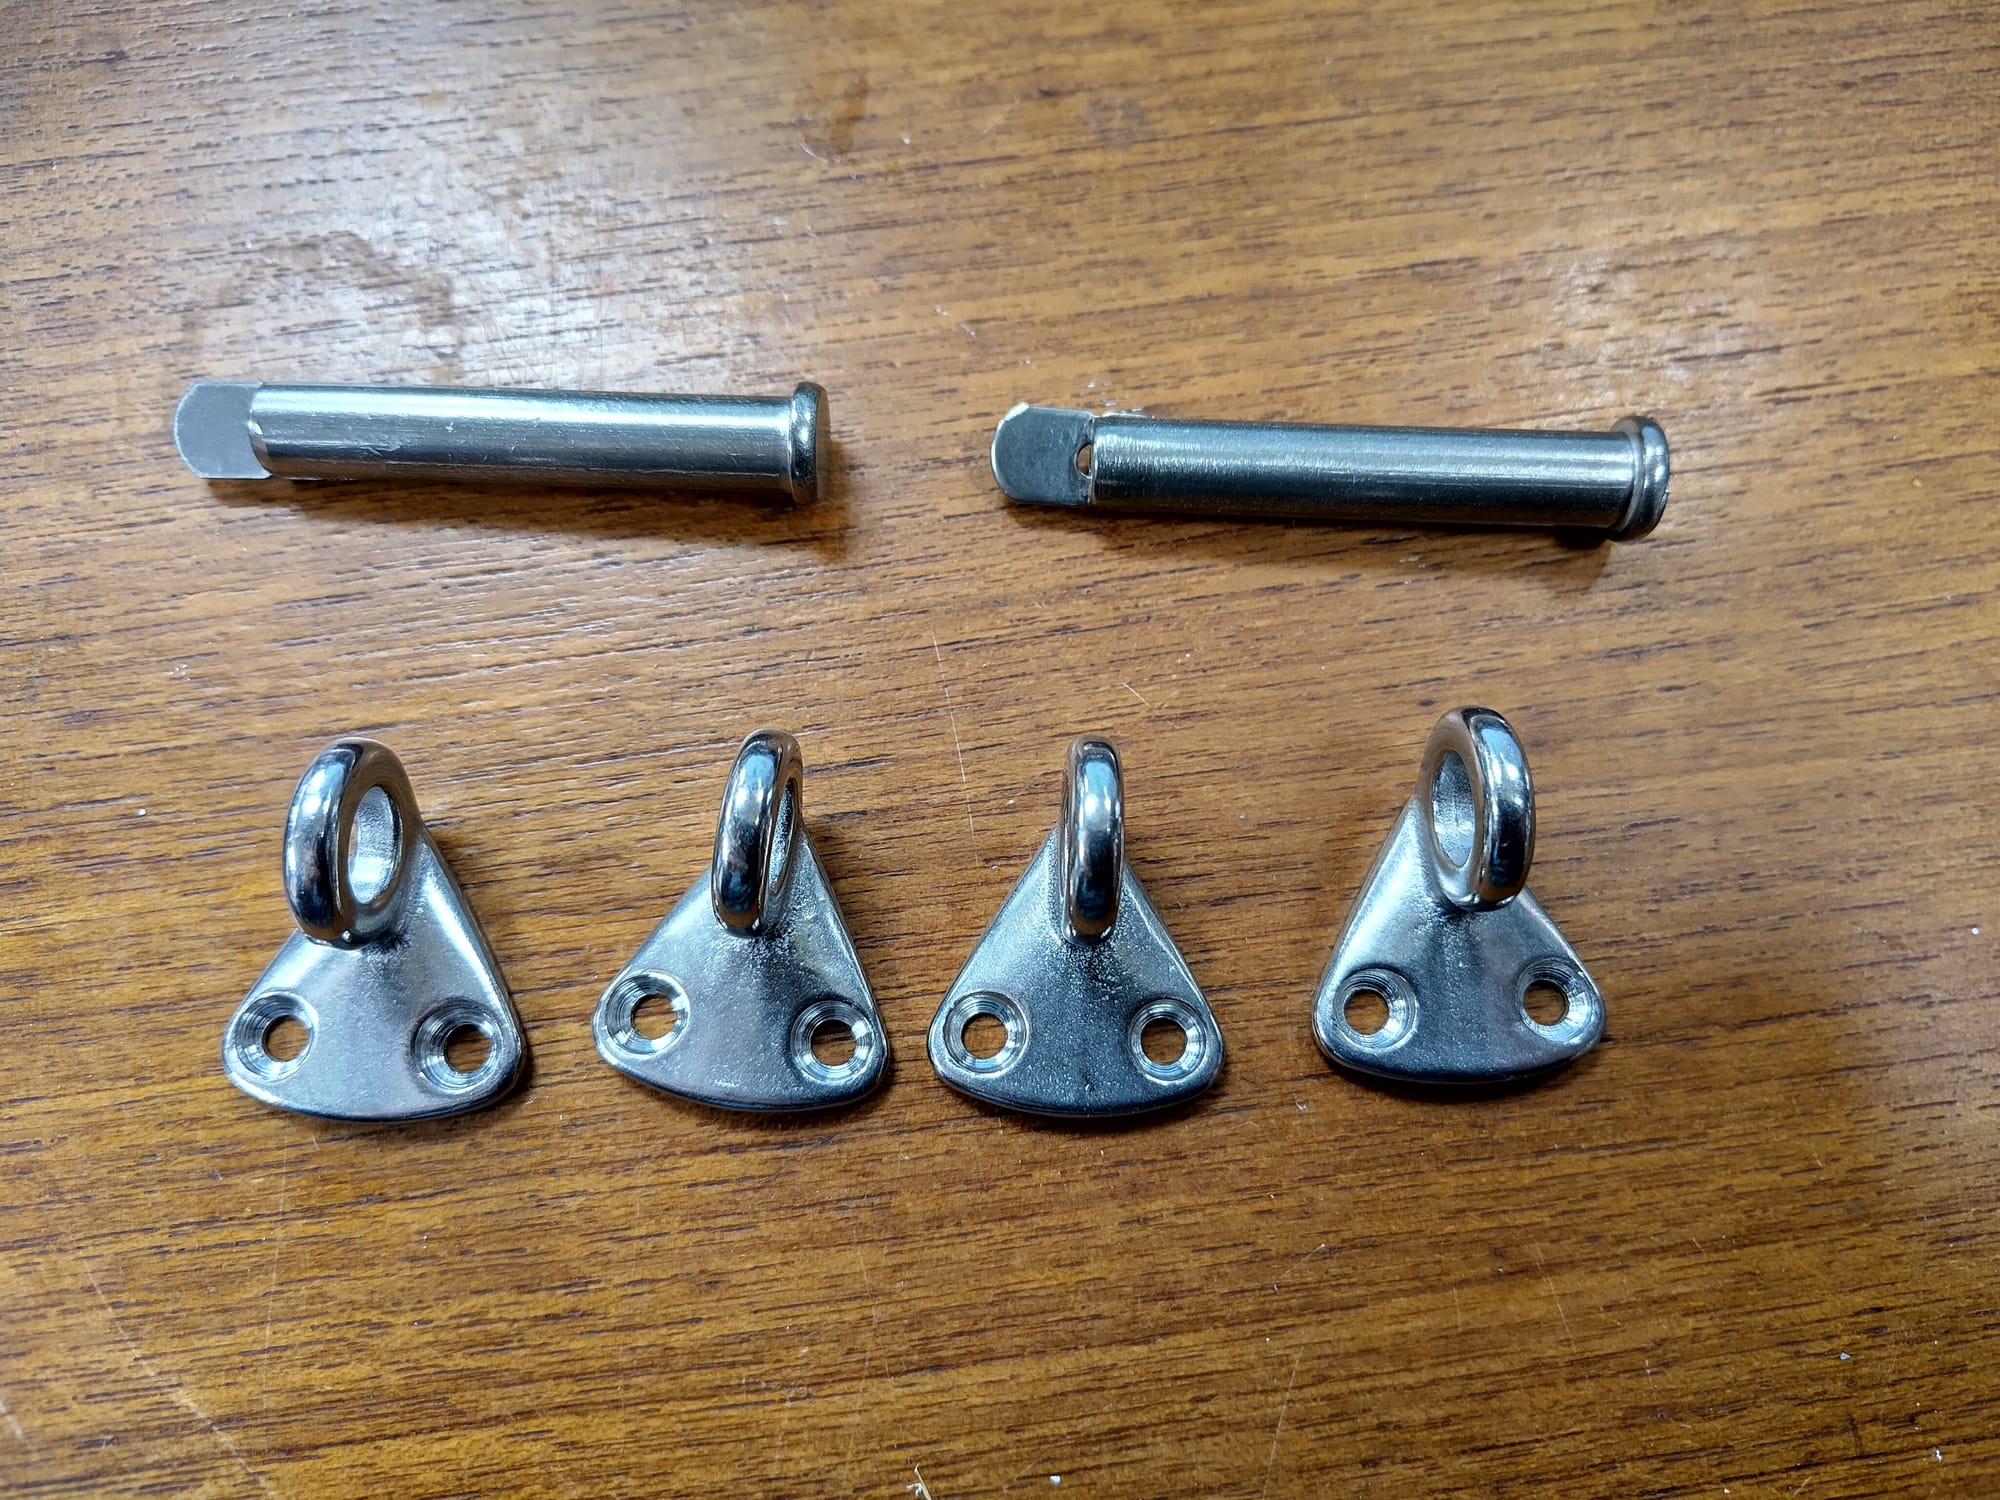
As a little taster, here are the key parts that we have got for the side solar legs end connections. Hopefully will have the legs made soon so that the side panels are angled to catch the sun.
It was a strange day for weather with quite a strong NE wind, warm if you were out of the wind, chilly if not. It was the first day since moving onto the boat that I wore long trousers.
PS Don't forget a new video went live today. We think it's a good one 😄