Slow progress preparing the Main mast for refurbishment, plus tangs continue

Today has mostly alternated between rain and drizzle which has dampened progress. Most of the jobs inside are still easier when we can do the timber cutting and sanding outside. So when we could, Jane continued with the work on the mizzen tangs while I started on the main mast.
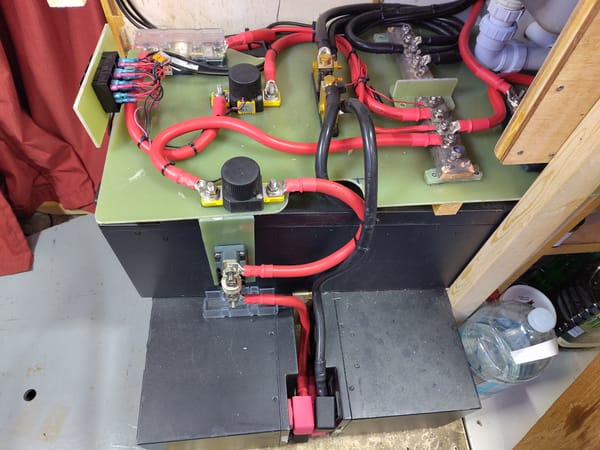
We have improved the working conditions for Tang manufacturing with a seat 😊 Also it is definitely worth stopping and recharging the Dremel before the battery goes completely flat.

Before I started on the main mast I had another good look at mizzen. We think this is a newer mast (but we don't know when it dates from), it is a Kemp (still made by Seldon I think). The key finding is that the track in the aft edge of the mast (for the sail slides) is shaped on the inside as a T. This means that we should be able to slit a pvc pipe and slide it along the T. This way we get a wiring conduit that is fixed in the mast without any riveting. We will need to plan how to get the wires out halfway up the mast so that there is no danger of them being cut by the edge of the pipe.
Main Mast
We had some work done by North Spars when we first got Vida, that was to remove an aftermarket roller furling. However, two years on it is obvious that a more thorough refurbishment is needed.
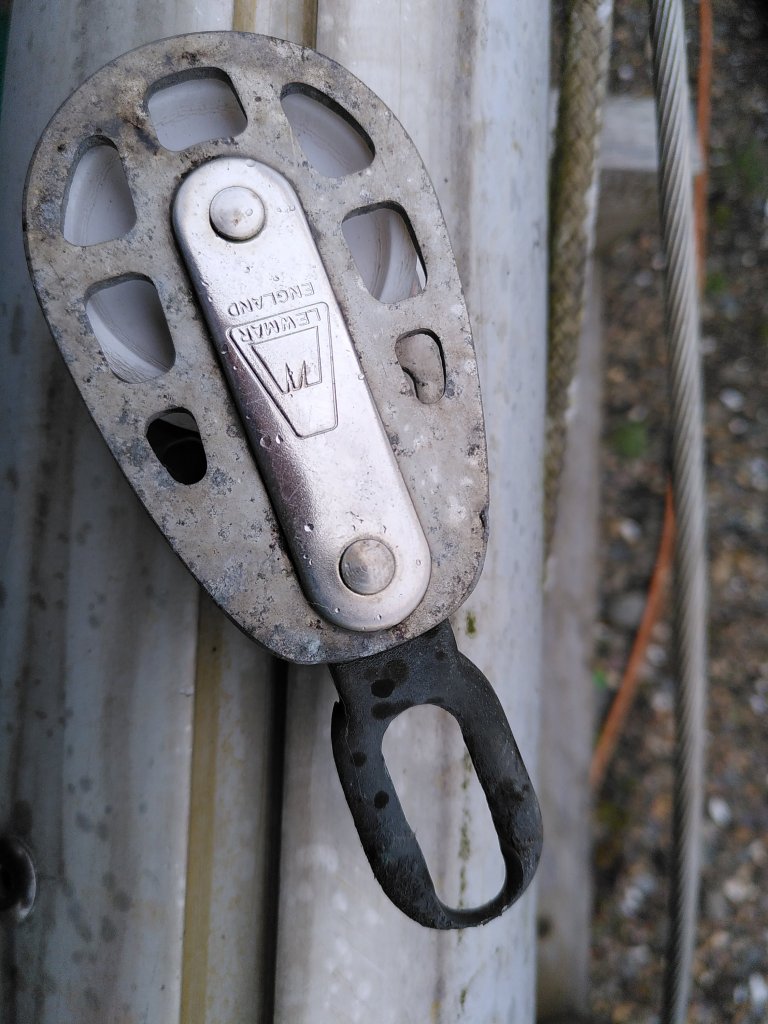
I wouldn't want to trust the spinnaker halyard that used this block for much!
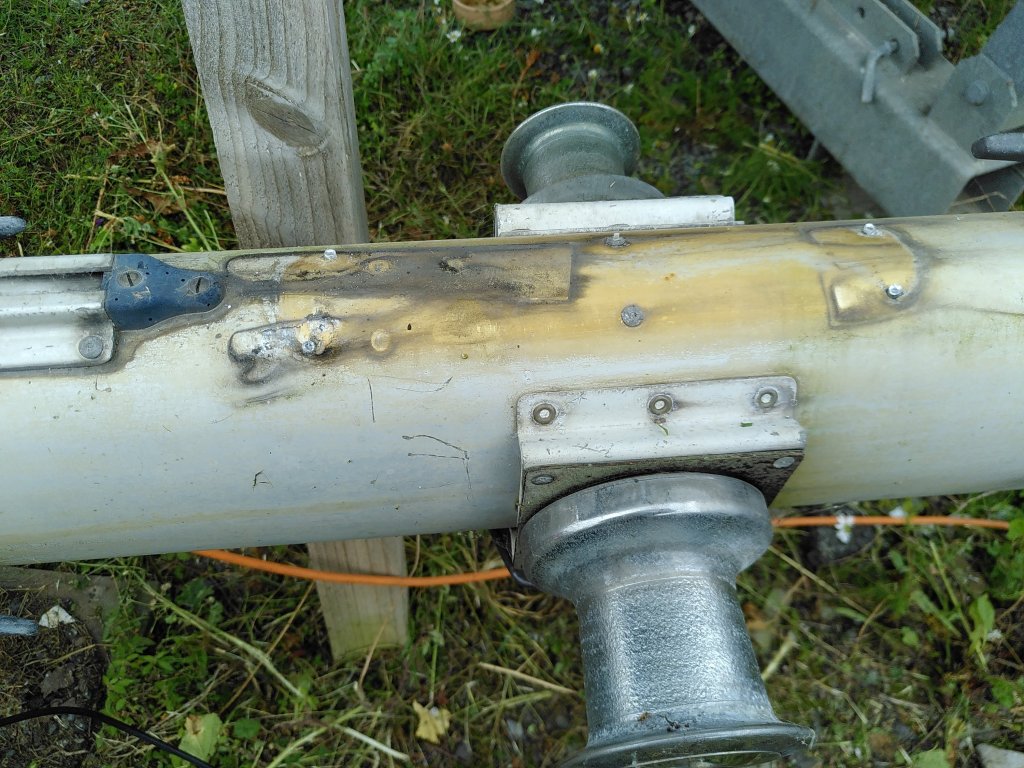
The similar block for the spinnaker pole uphaul has really scuffed the mast 😒

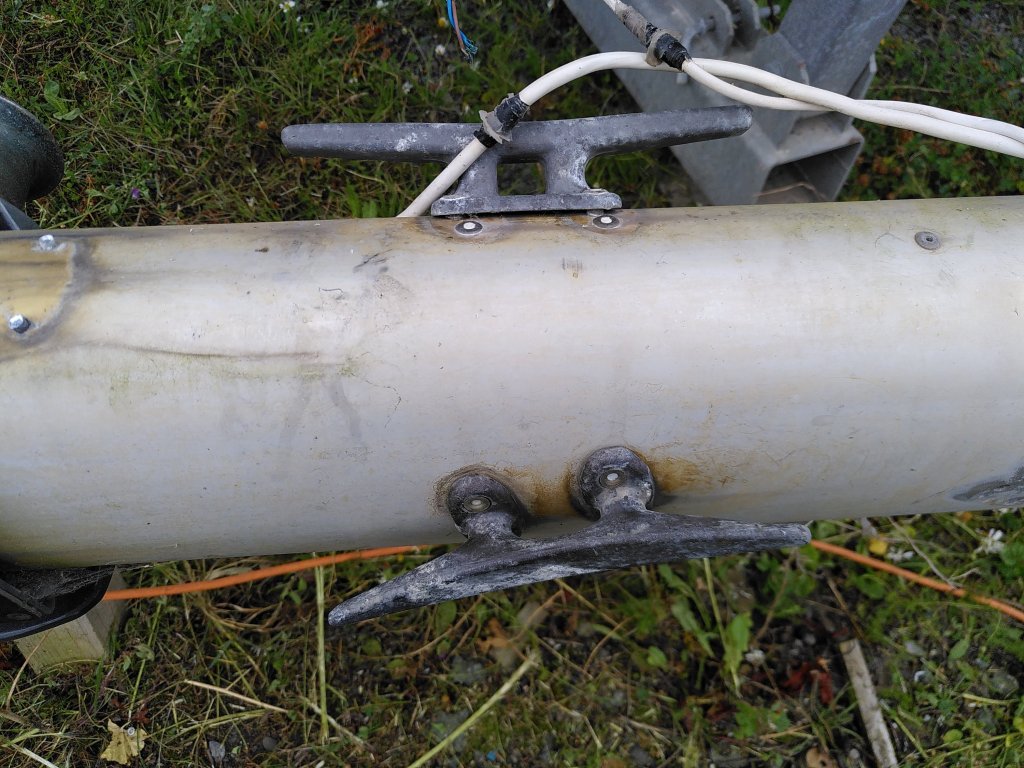
A which handle pocket had been installed in a very dodgy way between these cleats, so that has come off. Here it looks like the mast was originally gold. What I'm not sure about is how it has ended up silver (with lots of green growth). Has the gold worn off or was it removed or was it over coated?
Both winches work, although they need servicing. Currently there are cleats for the halyards, they seem original but there are extra rivets around them. For safety I'm planning to fit clutches above the winches, if you are hauling someone up the mast with a non self-tailing winch I think that is essential. So maybe the cleats can come off later.
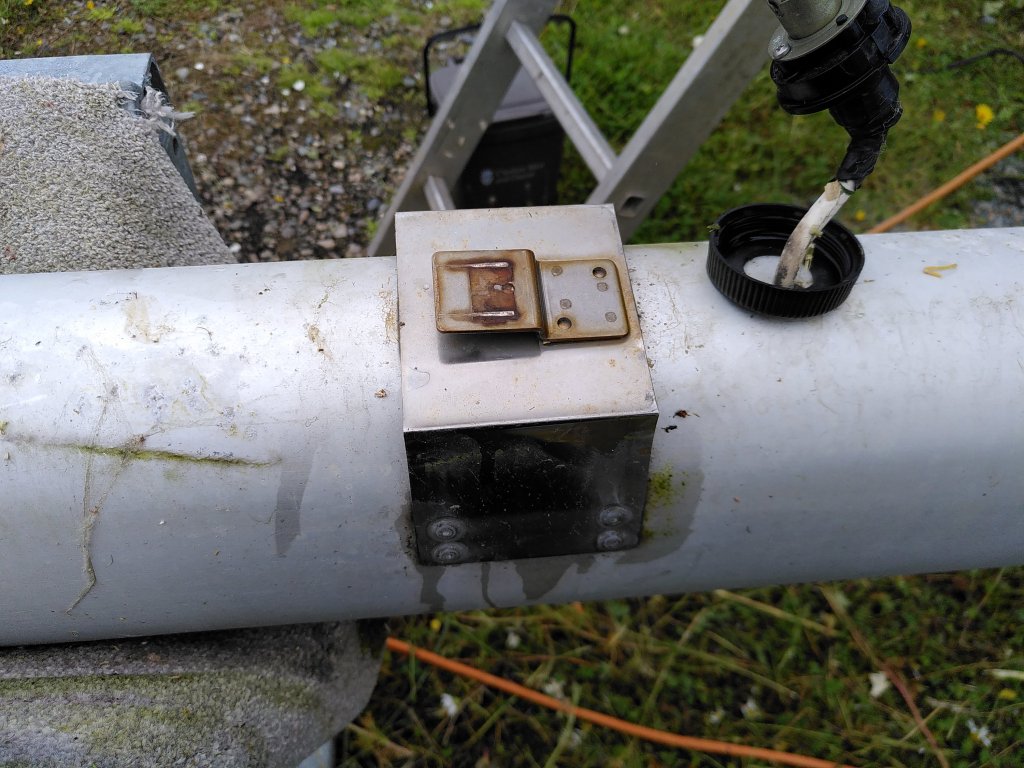
The lights and wiring are a complete mess. The tricolour at the mast top has disintegrated from UV damage. This fitting was for the steaming light, which was full of water.
This is the deck light. Like the mizzen I want to switch to lights on the spreaders so that the whole deck can be lit with fewer shadows. No photo but it looks like there is a wiring hole inside the spreader root.
This shows the gunky mess where the wires come out of the mast at the bottom. You can see where I have cleaned up some of the corrosion using our new ScotchBrite pad on the grinder, it was much more aggressive than I expected (and probably more than I need).
You can also see the mast foot. I have managed to get the screws out (about half unscrewed and the others I had to drill). I have not managed to get the mast foot off yet. I need to try the hot air gun next. As the mast head is welded on I would really like to get the foot off. Partly because I want to see how much corrosion there is and partly because it is the only way I am going to get a good look at how the wiring is routed and what options there are for a conduit.
I have got all the Shrouds and Stays off, including the roller furler.
The spacing for the forestay is a bit tight. So I think we might need a closed stainless steel thimble here rather than our tangs. The mast top is wider at the forward port side which is why the forestay attachment point (between the two holes) doesn't look central. You can also see I've removed the little end plates that stop the sheeve axles from escaping.
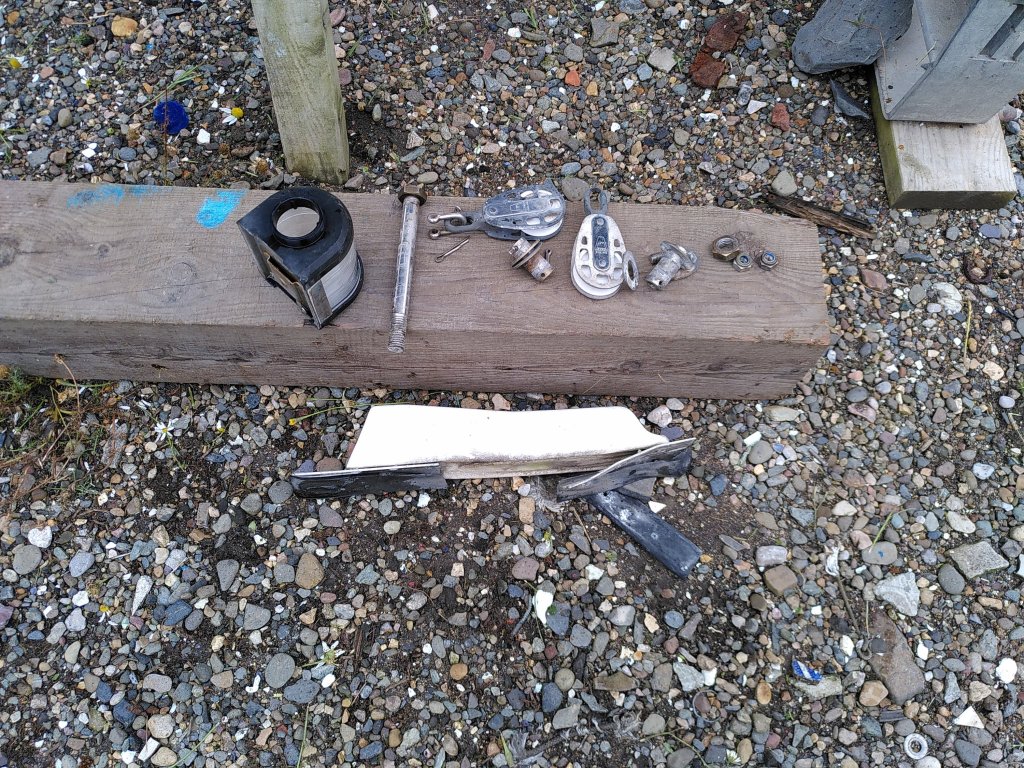
So now I have another little pile of mast rubbish.
But we also have the full paint system, three types of paint, all of them two part. Just need some better weather!

At the moment I don't think we will remove everything that is riveted to the mast, there are no signs of corrosion around them. But I might change my mind 😂