Finishing the Mizzen mast?

It's been a mixed weekend!
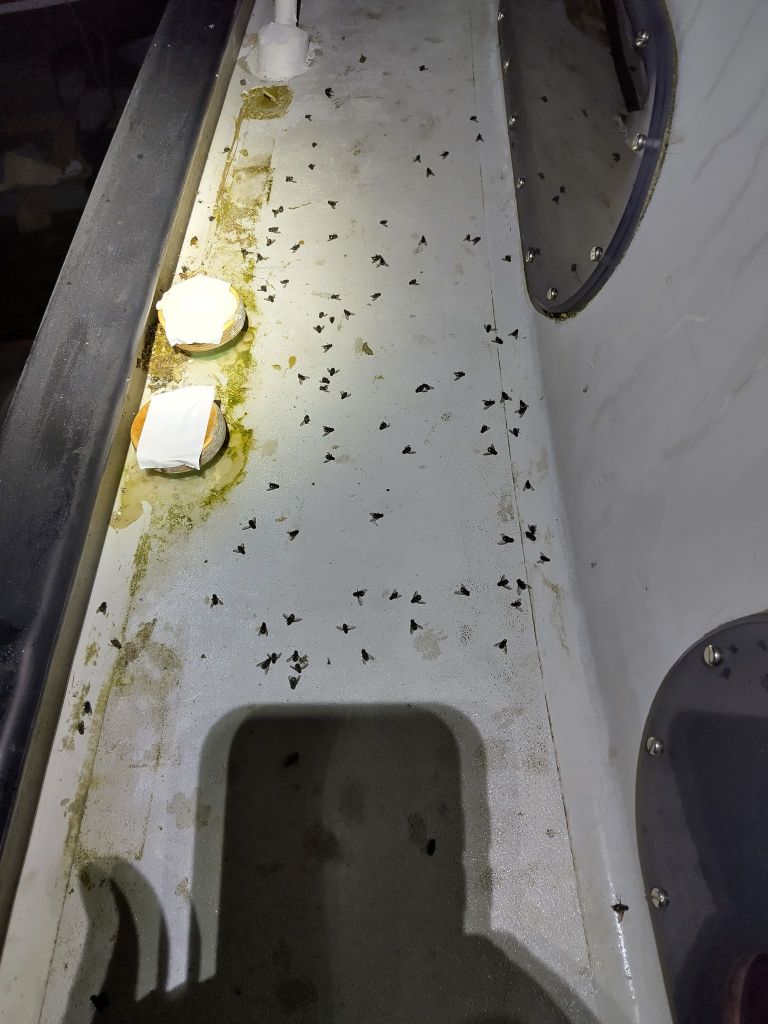
We arrived just after midnight Thursday evening and found that the wheelhouse had been completely taken over by huge flies. When I removed the opening section of the cover the edge it clips to was invisible behind multiple layers of flies. When I ducked in to get the fly spray the noise was incredible. They were everywhere and whole surfaces were hidden by them.
I took this picture of the side deck after some had escaped and then died from the fly spray. It's nothing compared to what there were to start with.
It took over half an hour to clear the way inside with fly spray and the workshop vacuum. So quite a late night.
We knew Friday was going to be a bit of a stormy washout. So we had a nice rest and in a dry spell went for a walk.
Today the weather was lovely, quiet and sunny. So we cracked on with the mizzen mast jobs. We managed to:
- Finish the missing tang (drill and sand to the curved mast profile.
- Improve the fit of the other mast tangs (particularly where the plates are riveted to the mast)
- Do the final fit of all mast tangs. In the end we decided to use Sikaflex to bed them evenly to the mast.
- Belatedly remembered to put the lower shrouds on the tangs (need to be fitted with the tangs due to the closeness of the spreader root).
- Modified the end of the spreaders for the much larger diameter dyneema shrouds.
- Fitted the spreaders.
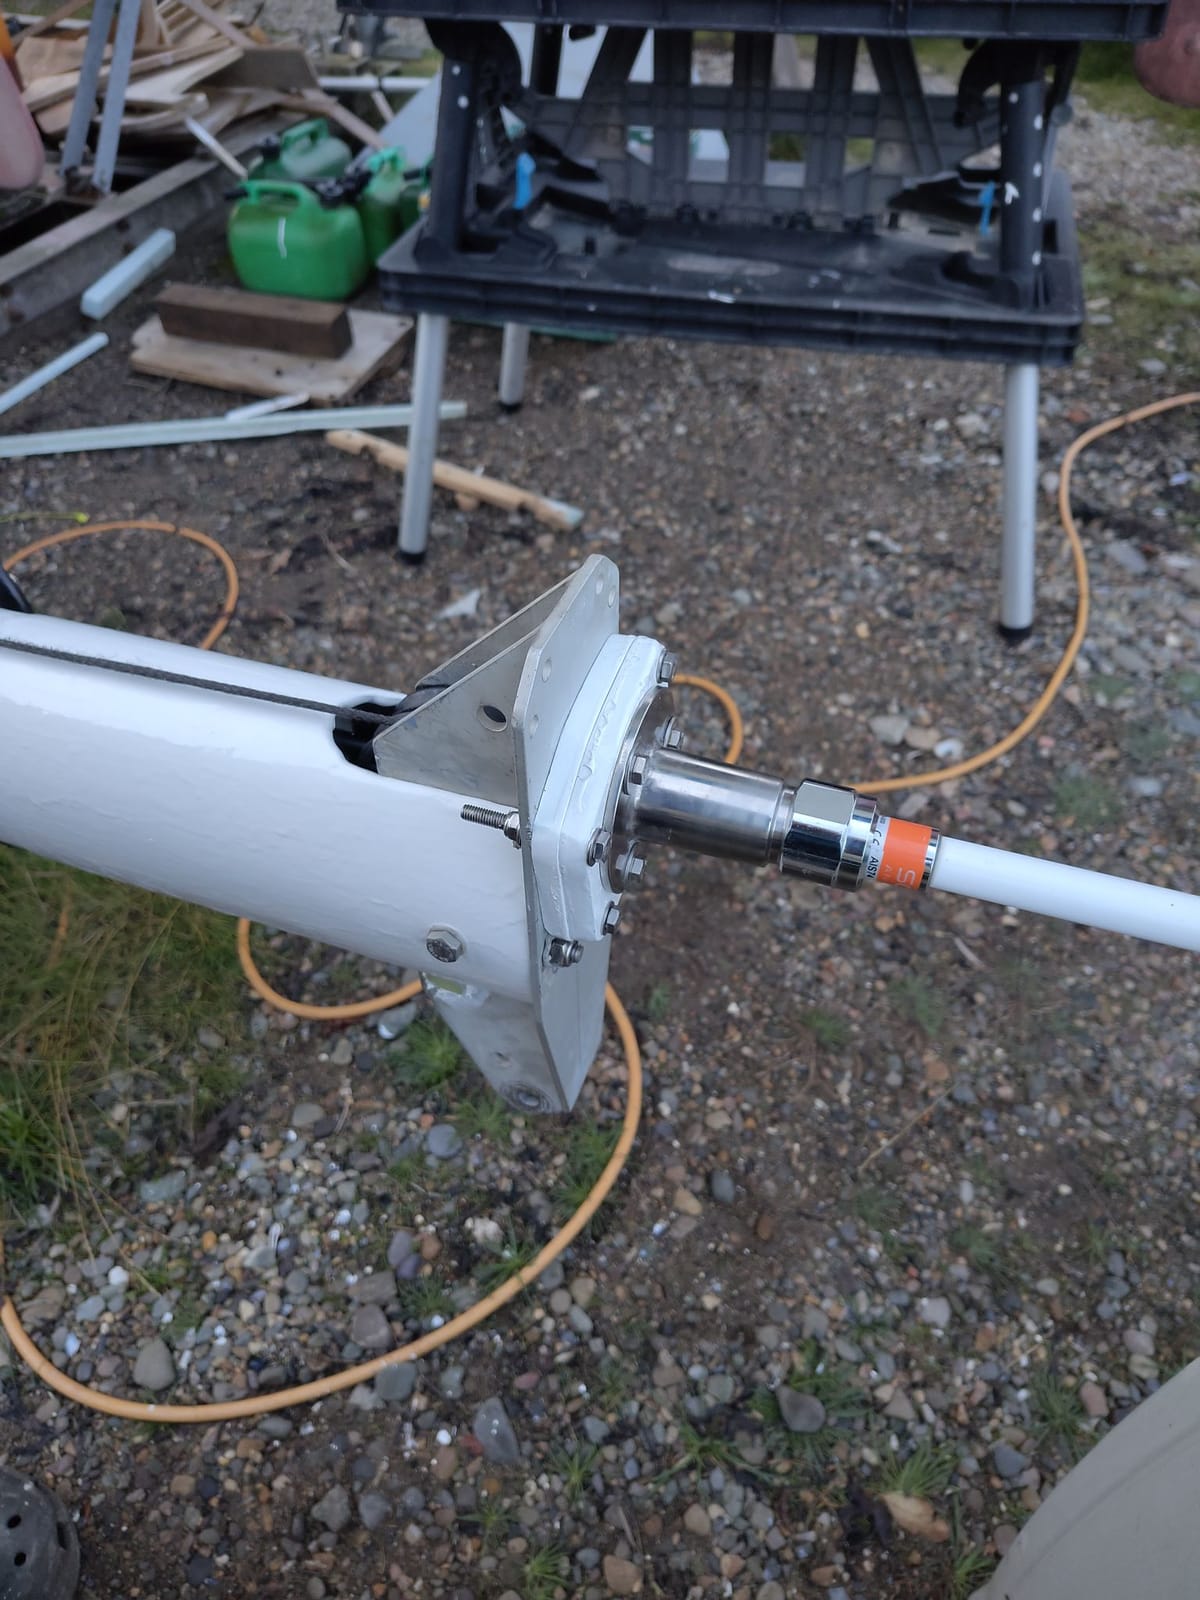
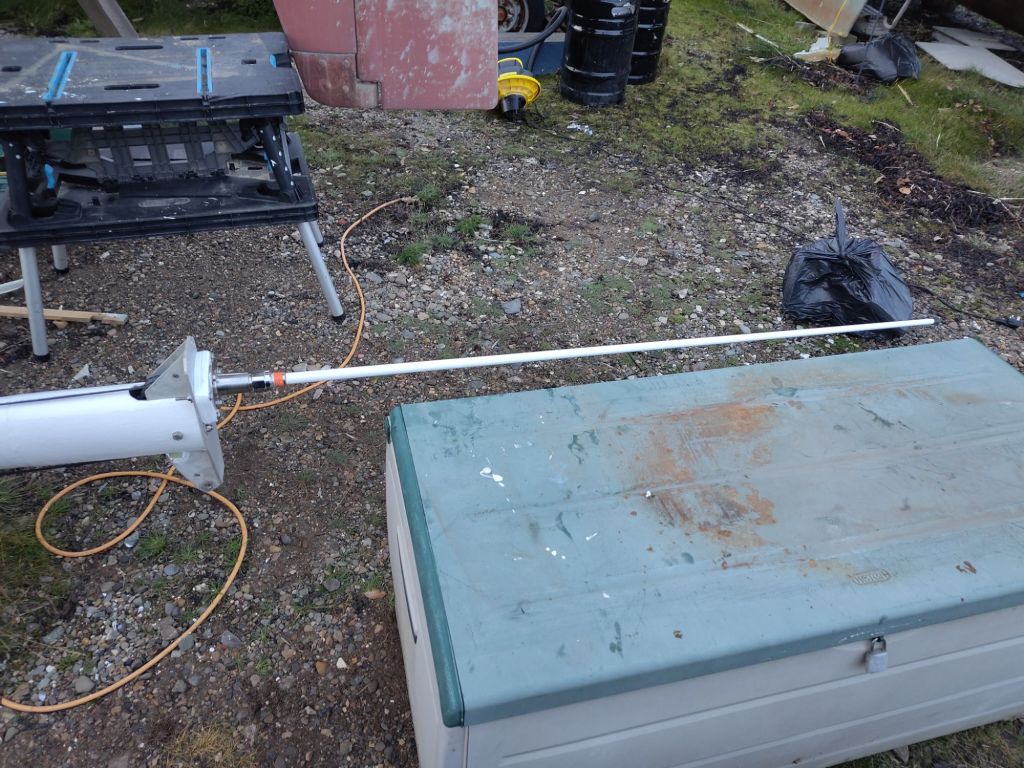
- Final fit of the WiFi Boost antenna (halfway up the mast)
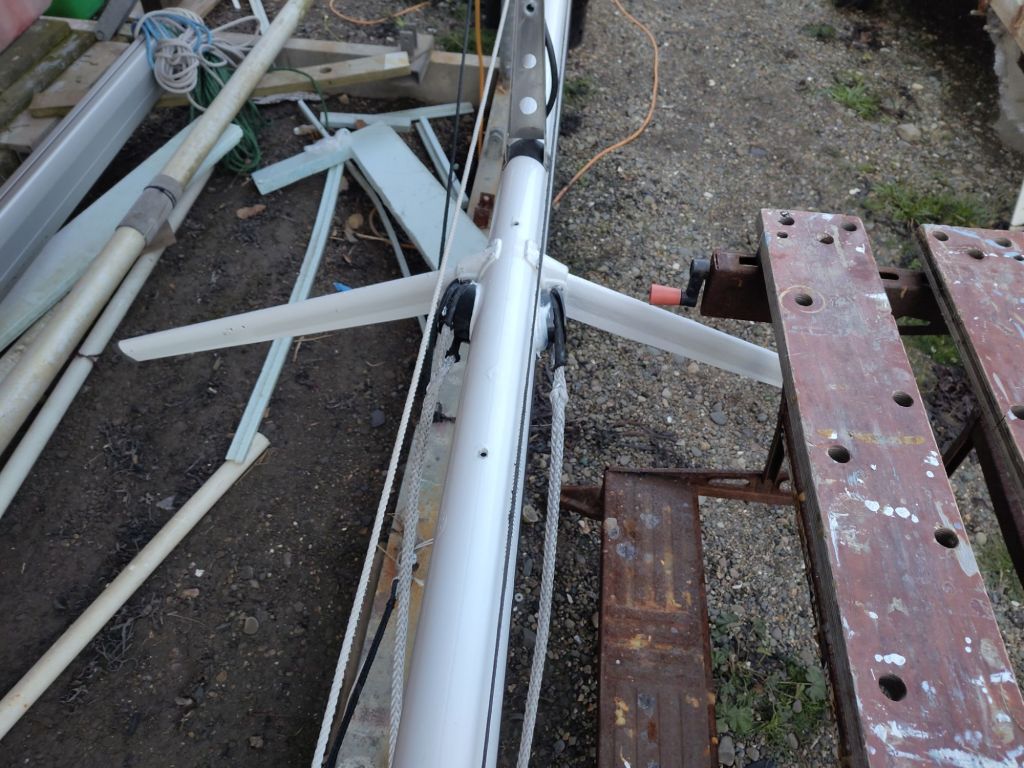
- Assemble and fit the mast top complete with the AIS Antenna. Had a very difficult time with the mouse line for the staysail which was caught up in the top mast tang bolt. Also with the pin for the mizzen halyard sheaves.
- Made sure both moused lines are continuous loops (up and down again) so we can pull through the halyards.
- Checked the length of all the shrouds and marked the cap shrouds where we need to fit anti chafe sleeves where the pass the spreaders.
This means the mast is ready to go up. We have 3 potential dates booked with the yard and will go for the first that wind permits.
This is what it looks like now:


There is just a short list of jobs before the mast goes up. We have booked 3 potential dates with the Yard for that (weather permitting it could be this coming Friday).
- Fit the anti chafe to the cap shrouds where they pass the spreaders
- Sort out lashings to attach the shrouds to the spreaders
- Make a rubber "boot" for the mast foot into the mast base
- sand the holes through the deck for the dyneema chainplate loops
- cut the holes for the chainplate loops in the drip catcher lids and glue them to the underside of the deck
- fit the chainplate loops with chafe protection and low friction rings
- prepare the dyneema lines for the lashings between the shrouds and the chainplate loops.
Not much if you say it fast ;-)